Toyota Hilux Rear Disc Brake Conversion
Toyota Hilux Rear Disc Brake Conversion
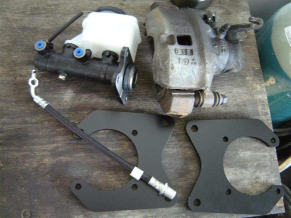
Parts Required:
• Designfab mounting brackets
• Nissan GQ Patrol Rear rotors DBA622 part number 315mm diameter
• '88 / 89 L series Subaru calipers part No. ABP3K
They take DB418 pads (mounting bolt spacing 122mm)
• 80 series / Prado master cylinder, A/M Part No. JB9527 or Toyota 47201-60690
• 80 series front brake lines 90947-02A16
• Optional: wheel bearings and seal kit (might as well replace it all while it’s apart)
Fitting Instructions
Step 1
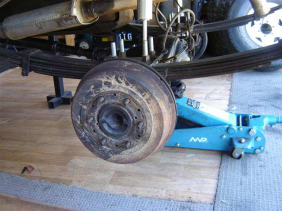
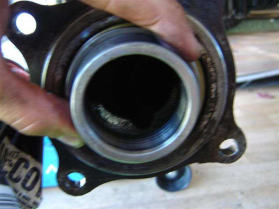
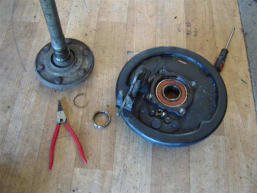
Starting with the stock drums:
Undo the four 14mm nuts and brake line and remove the axle from the housing. Dirty, dirty Real McCoy
cans are great for collecting brake fluid. (and not much else).
Step 1
Starting with the stock drums:
Undo the four 14mm nuts and brake line and remove the axle from the housing. Dirty, dirty Real McCoy
cans are great for collecting brake fluid. (and not much else).
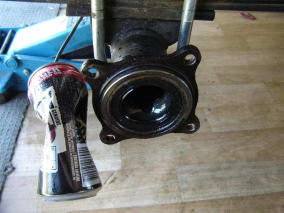
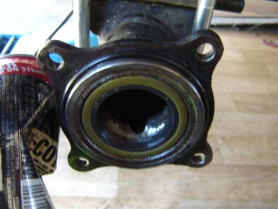
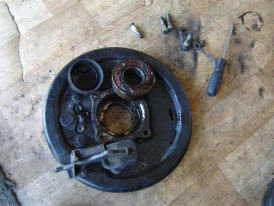
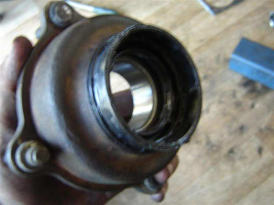
Step 2
Pry out the old seal and remove the o-ring.
Bash in a new one. I used an old pinion bearing housing to drive it in. Chuck a new o-ring on
Pry out the old seal and remove the o-ring.
Bash in a new one. I used an old pinion bearing housing to drive it in. Chuck a new o-ring on
That’s all for the housing, now on to the fun stuff.
Step 3
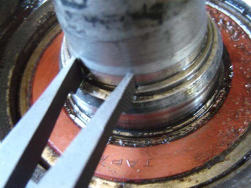
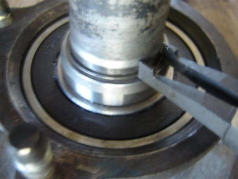
Remove the snap ring from the axle. DON’T FORGET THIS BIT!!!
Remove the snap ring from the axle. DON’T FORGET THIS BIT!!!
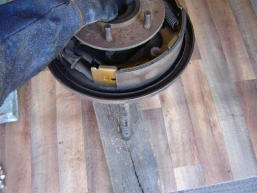
Notice the melted bearing dust seal, this was from when the old brake pad came away from the shoe and
caused it to drag and heat up, it’s a good idea to put a full seal and bearing kit though the whole lot while
you have it in bits.
caused it to drag and heat up, it’s a good idea to put a full seal and bearing kit though the whole lot while
you have it in bits.
Step 4
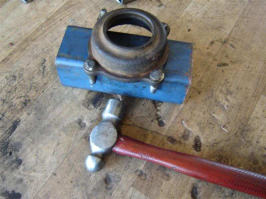
If you don't have a press, remove the bearing and retainer the fun way. Get some gloves on, hold the axle
assembly by the backing plate and smash the splined end onto a piece of wood. Leave the brake bits on
to give a bit more weight.
Mine came away after 5-6 good hits, leaving me with this: Don’t be shy
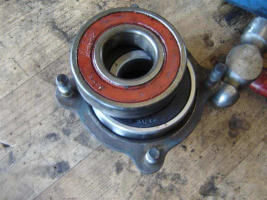
Bash the studs out, and remove bearing and seal.
Step 5
Some more tough loving will remove the backing plate from bearing housing.
Step 6
Replace the studs, new bearing and seal. I used the old bearing to hit the new in.
Replace the studs, new bearing and seal. I used the old bearing to hit the new in.
Step 7
Place this all back onto the axle and some more bashing. I used a bit of scrap tube to press the bearing
and retainer back onto the axle. 50mm RHS also works well.
Place this all back onto the axle and some more bashing. I used a bit of scrap tube to press the bearing
and retainer back onto the axle. 50mm RHS also works well.
Step 8
Replace snap ring.
Replace snap ring.
Step 9
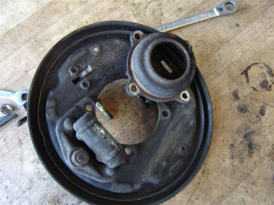
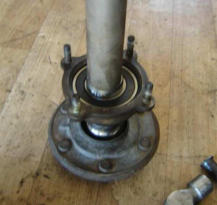
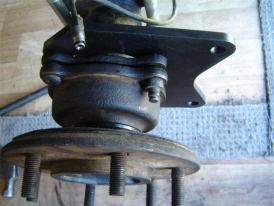
Fit the axle back into the housing, adding the Designfab bracket to the back side.
Fit the axle back into the housing, adding the Designfab bracket to the back side.
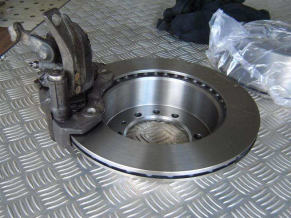
Step 10
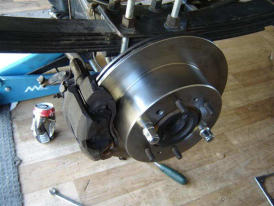
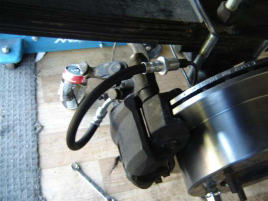
Add the rotor and caliper:
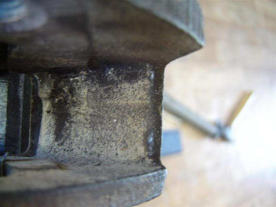
NOTE: Some calipers may require slight grinding to help them clear. Here is where they may contact.
Add the rotor and caliper:
NOTE: Some calipers may require slight grinding to help them clear. Here is where they may contact.
Step 11
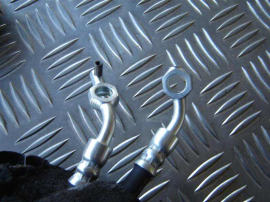
Next are the brake lines. The 80 series fronts need the locating pin cut off like so:
Then connect the hard line to the caliper with the 80 series line. Easy!
Next are the brake lines. The 80 series fronts need the locating pin cut off like so:
Then connect the hard line to the caliper with the 80 series line. Easy!
Step 12
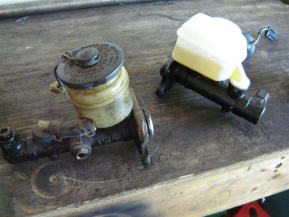
The stock hilux master cylinder is designed for rear drums, and is missing the residual valve to stop the
piston from retreating back from the disc and giving a spongy pedal. It’s also too small for the larger fluid
requirement of the Subaru calipers.
So, enter the 80 series / Prado 1" bore master cylinder: (the new one on the right)
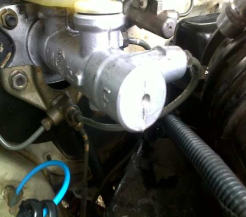
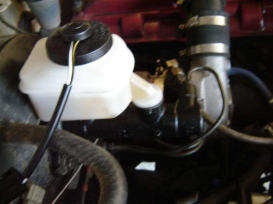
Notice the front port is on the side instead of the top, so I had to re-bend the line to fit
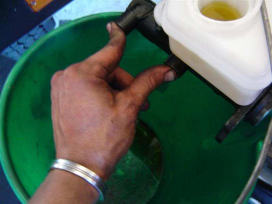
Remove the old master cylinder and bench bleed the new one. I do this by filling it up and pumping the
piston, and blocking the ports with fingers before releasing the piston. Keep doing this until fluid and no
air comes out.
Remove the old master cylinder and bench bleed the new one. I do this by filling it up and pumping the
piston, and blocking the ports with fingers before releasing the piston. Keep doing this until fluid and no
air comes out.
Bleed the brakes starting from the passenger rear, drivers rear, passenger front, drivers front and finally
LSPV. (Load sensing proportioning valve)
LSPV. (Load sensing proportioning valve)
Job done!!!
Remember to check all the bolts are tight!
Further notes:
The GQ rotors are located on the axle flange by the wheel studs, these centre it well, but people have
had rings made up anyway to remove any doubt. The axle is 91mm and the rotor is 110mm. Other types
of rotors will remove this problem, but may require an offset bracket to align the calipers, so not ideal.
Some Subaru calipers may require slight grinding of the casting due to differences in the manufacturing.